Kerf and Fit Testing in a LightBurn Workflow
Use LightBurn as the test and setup environment. Let a small coupon show how intended dimensions become a real mating fit.
Plan the next couponTwo tools, two different questions
Kerf Offset adjusts the generated cut path for closed shapes on a Line-mode layer, rather than changing the drawn artwork. Positive values expand a border; negative values shrink it. Nested contours on the same layer reverse the direction. Inspect the Preview and then test the mating parts. LightBurn Documentation: Kerf Offset.
Material Test generates a grid that varies selected parameters, including speed and power. It helps compare cut or mark results under a recorded setup; a grid alone does not establish slot-and-tab fit. Follow it with a coupon using your actual joint geometry. LightBurn Documentation: Material Test.
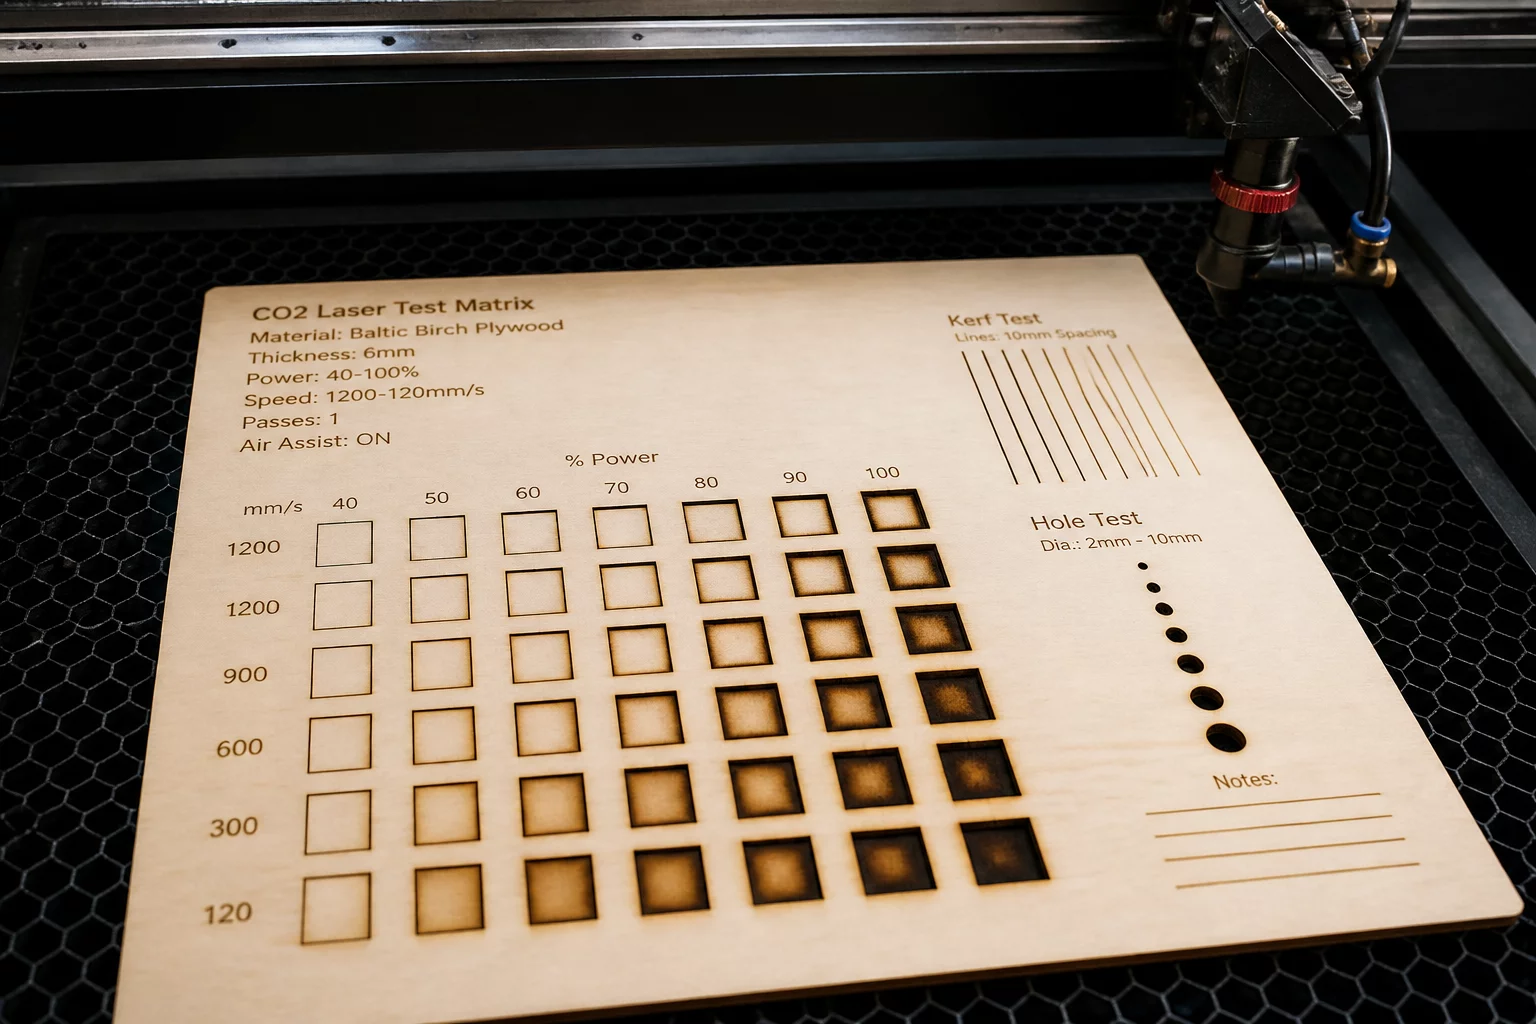
Illustrative test-piece view. Record the software version and setup with your own coupon.
Understanding LightBurn Kerf Offset Modes
Keep the drawing and mating part unchanged when comparing offsets. The sign describes a path change, not a guaranteed fit.
Positive Kerf Offset (Outward)
Expands an outer closed border. Nested inner contours on the same layer move inward.
Test question: Did the compensated tab retain the intended size, and did the slot become too tight?
Negative Kerf Offset (Inward)
Shrinks an outer closed border. Nested inner contours on the same layer move outward.
Test question: Did assembly become easier, and how much play appeared?
Zero Offset (Centerline Pass)
Uses the nominal vector path. Removed material can leave tabs smaller and openings larger than the drawing.
Test question: What did the uncompensated coupon teach us about the starting fit?
What did this test piece actually teach us about the fit?
Target fit → test geometry → observed fit → next test
Target fit
Define how the joint should assemble and whether it must come apart again.
Test geometry
Use a small labeled slot-and-tab coupon. Keep the mating part and test conditions consistent.
Observed fit
Record force, play, edge damage, and the fit after removal. A drawn dimension is not the result.
Next test
Change one variable, repeat the coupon, and compare it with the first observation.
Change geometry or compensation as a controlled variable. Avoid changing both together if you want to understand which change improved the fit.
Five Slots Before the Enclosure
Target: a joint that seats by hand and holds with little play. Five intended slot widths, one unchanged mating part.
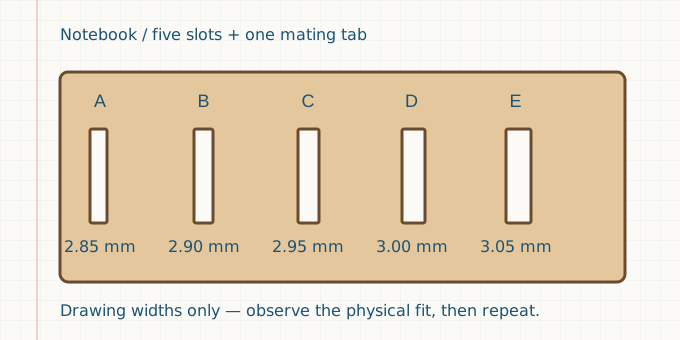
Inspect a slot observation
Intended drawing width: 2.95 mm
Firm hand fit
Seats by hand with little play; repeat this candidate.
Five slots, five observed fits
Illustrative observations for one coupon, not measured production records or a “3 mm plywood” settings table. Cut dimensions and material thickness must be measured on your own test.
| Slot | Drawing width | Observed fit | Notebook note |
|---|---|---|---|
| A | 2.85 mm | Too tight | Does not seat by hand; stop before damaging the edge. |
| B | 2.90 mm | Tight press | High insertion force; poor choice for repeated removal. |
| C | 2.95 mm | Firm hand fit | Seats by hand with little play; repeat this candidate. |
| D | 3.00 mm | Easy slide | Easy assembly with detectable movement. |
| E | 3.05 mm | Loose slip | Visible play; does not meet this example’s retention goal. |
What we learned: this example narrows the next test around C. It does not establish a universal kerf allowance or certify the final joint.
Questions to carry into the next test
Does an easy cut prove a good fit?
No. Cut quality and joint behavior are separate observations. Assemble the intended mating parts and record force, clearance, and edge condition.
Can I reuse a coupon result for another material batch?
Use it as a starting hypothesis. Repeat the same geometry with the new batch, measure its thickness, and compare the fit before cutting the full project.
Should I edit the geometry or the Kerf Offset?
Record which variable you change. A dimension mismatch and compensation for removed material are different questions; verify each with a small coupon and check the generated Preview.
What if the second test disagrees?
Keep both samples and their notes. Repeat the baseline and isolate one changed condition. Read When the Second Test Disagrees With the First.
An independent educational notebook
LightBurn is the third-party laser layout and control software referenced in this guide. KerfFit Notebook publishes educational testing methods and does not provide machine-specific safety certification, guaranteed cut settings, laser control, licenses, downloads, or official LightBurn support.
Category: Laser fabrication education · Subcategory: Fit testing · Format: Fit Coupons · Brand role: Test/setup environment